
Sharpen a kitchen knife without a sharpener using five simple tools
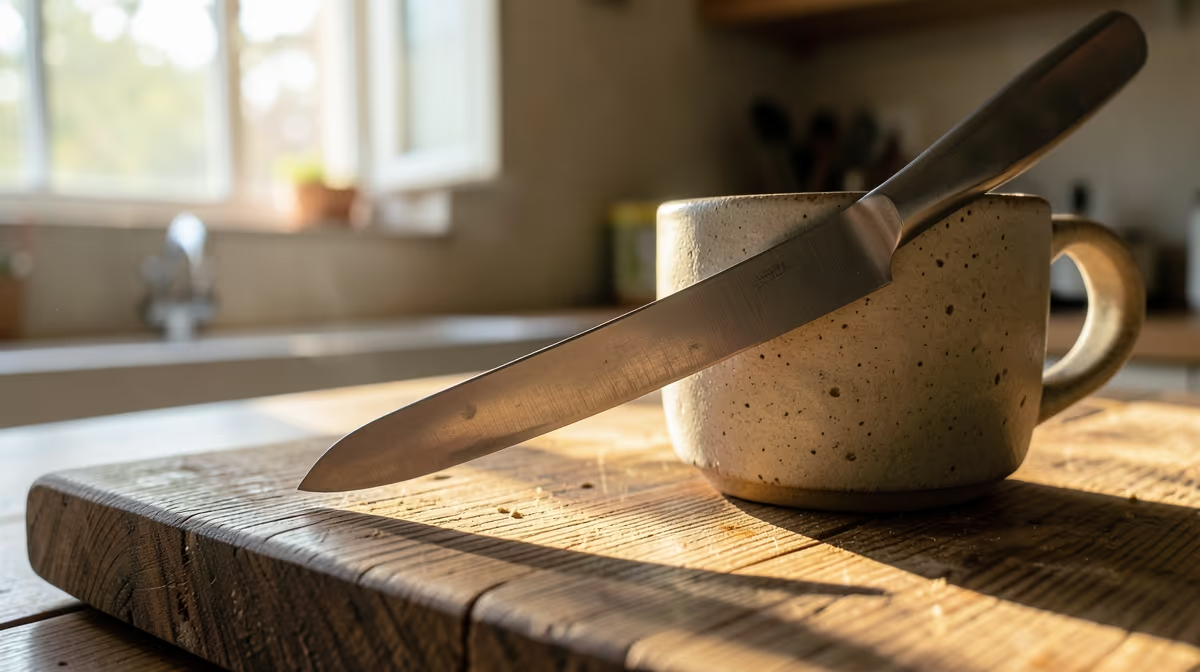
A dull blade makes meal prep frustrating and unsafe, but you can sharpen a kitchen knife without a sharpener using everyday household items. When you do not have a dedicated whetstone or electric tool nearby, several common surfaces can quickly realign and hone your blade to restore its cutting power.
Improvising a knife sharpener works well in a pinch, but you must maintain a consistent 15-to-20-degree angle to avoid damaging the blade.
Household Items That Can Sharpen Your Knife
To restore a dull blade, you need a material that is harder than the steel of your knife. When you attempt to sharpen a kitchen knife without a sharpener, you are looking for abrasive surfaces that can strip away microscopic amounts of damaged metal to reveal a fresh, clean edge. Fortunately, several common household items meet this requirement perfectly.
| Material | Action | Best For |
|---|---|---|
| Ceramic Mug | Grinds metal | Quick sharpening of moderately dull blades |
| Sandpaper | Grinds metal | Restoring chipped, damaged, or very dull edges |
| Leather Belt | Aligns edge | Finishing, polishing, and maintaining a honed blade |
| Car Window | Grinds metal | Quick honing when away from the kitchen |
Each of these materials interacts with the steel in a slightly different way. Some actually grind away steel to create a brand-new edge, while others simply realign the microscopic teeth of the blade that have bent out of place during normal food preparation.
The Ceramic Mug Method Step by Step
The unglazed ring on the bottom of a standard ceramic coffee cup is one of the most effective tools for this task. This rough ring is essentially raw porcelain, which is incredibly hard and acts much like a high-quality ceramic sharpening stone.
- Flip a ceramic mug upside down on a flat, stable surface like a heavy wooden cutting board or a damp towel to prevent it from slipping.
- Hold the knife handle firmly and tilt the blade to a 20-degree angle against the rough, unglazed ring.
- Draw the blade across the ceramic from the heel to the tip in a smooth, sweeping motion, as if you are trying to slice a thin layer off the top of the ring.
- Repeat this motion 5 to 10 times, then switch to the other side of the blade and repeat the process.
- Wipe the blade thoroughly with a damp cloth to remove any microscopic metal shavings before using the knife on food.
Make sure you do not use decorative or painted ceramic mugs, as the glazed portions will not provide the necessary abrasion to sharpen the steel.
Alternative Methods for Restoring an Edge
If you do not have a suitable mug, there are other household alternatives that can get your blade back into working order.
Using Sandpaper
Sandpaper is an excellent option because it allows you to choose your level of abrasiveness. If your blade has small nicks, start with a medium grit and finish with a fine grit to polish the edge. Secure a sheet of sandpaper to a flat surface, such as a cutting board, using tape. Pull the knife backward across the paper, moving from the heel to the tip, maintaining your target angle.
Using a Car Window
The exposed, unpolished top edge of a rolled-down car window is surprisingly abrasive. Roll the window down halfway so you can access this rough edge. Run the knife blade across the glass edge at a consistent angle. Because glass is incredibly hard, this method works quickly to align your blade when you are camping or cooking outdoors.
Using a Leather Belt
This process is called honing rather than sharpening. It does not remove metal but realigns the microscopic teeth along the edge of the blade. Run the blade backward (spine first) along the smooth side of a leather belt. This is an excellent final step after using sandpaper or a ceramic mug to give your knife a razor-sharp finish.
How to Maintain the Correct Blade Angle
Keeping a consistent angle is the most critical part of this process. Most western kitchen knives are ground to a 20-degree angle, while eastern knives are often sharper, at around 15 degrees.
To find a 20-degree angle without any specialized tools, start by holding your knife perpendicular to the surface at 90 degrees. Tilt it halfway down to 45 degrees, and then tilt it halfway once more to get to roughly 22.5 degrees. Lower it just a tiny fraction more, and you have the perfect angle for sharpening.
Always draw the blade away from your body and keep your fingers clear of the cutting path to prevent accidental slips and injuries.
Keep your wrist locked as you stroke the blade across your chosen surface. Moving your wrist changes the angle mid-stroke, which rounds out the edge and makes the knife duller than when you started.
Testing Your Blade for Sharpness
You need to know if your DIY efforts worked before you start prepping your next meal.
The paper test is the easiest way to check your progress. Hold a standard sheet of printer paper vertically by one corner. Place the heel of your knife at the top edge of the paper and slice downward. A sharp knife will slice cleanly through the paper with minimal resistance. If the blade tears the paper or slips off, the edge still needs work.
Another practical option is the tomato test. A sharp knife should easily slice through the slippery skin of a ripe tomato under its own weight without crushing the soft flesh underneath.
Common Mistakes to Avoid
- Applying too much pressure: Pushing down hard on your abrasive surface will not speed up the process. Instead, it can warp the edge, chip the blade, or scratch the sides of your knife. Gentle, consistent pressure is all that is required.
- Changing the angle mid-stroke: If your hand wobbles during the stroke, you will round off the edge rather than sharpening it. Move your entire arm to keep the angle steady.
- Using the wrong grit progression: If you use sandpaper, starting with a very coarse grit and failing to transition to a finer one will leave your edge jagged and prone to rapid dulling.
- Forgetting to clean the blade: Metal dust left on the blade can end up in your food. Always wash your knife thoroughly with warm water and soap after sharpening.
Knife Care Tips After Sharpening
Once you have successfully restored your edge, proper care will keep it sharp for longer. Always hand wash your knives; the high heat, harsh detergents, and movement inside a dishwasher will dull a blade rapidly.
Store your knives in a block, on a magnetic strip, or in protective sheath covers rather than loose in a drawer where they can bump against other metal tools. Finally, always use a wood or plastic cutting board. Glass, marble, and granite surfaces are harder than steel and will dull your freshly sharpened knife instantly.
Frequently Asked Questions
Can you use a cardboard box to sharpen a knife?
Yes, cardboard acts as a very mild strop that can hone a slightly dull edge. Drag the blade backward across a clean piece of corrugated cardboard several times to realign the edge.
Does sliding two knives against each other sharpen them?
Sliding two knife blades together can hone the edges by realigning them, but it does not remove metal to sharpen a truly dull blade. This method is highly risky because a slip can easily damage both blades or cause injury.
Can a glass bottle be used to sharpen a knife?
The rim or bottom of a thick glass bottle can act as a honing rod to realign a bent blade edge. Move the knife across the glass surface at a consistent angle, drawing the edge from heel to tip.
How often should I sharpen a kitchen knife?
Under regular household use, a kitchen knife should be sharpened once or twice a year, while it should be honed every few uses. Using alternative methods is best kept for emergencies rather than daily maintenance.
Conclusion
Learning to sharpen a kitchen knife without a sharpener is a highly practical skill that saves time and keeps your kitchen safe. By utilizing a ceramic mug, sandpaper, or even a leather belt, you can quickly restore your blade's edge using items you already own. Always maintain a consistent angle, apply light pressure, and test your progress on a piece of paper to ensure a clean, safe, and effective cut every time.

