
Meal Prep Chicken for the Week Without It Drying Out: The Easy Way
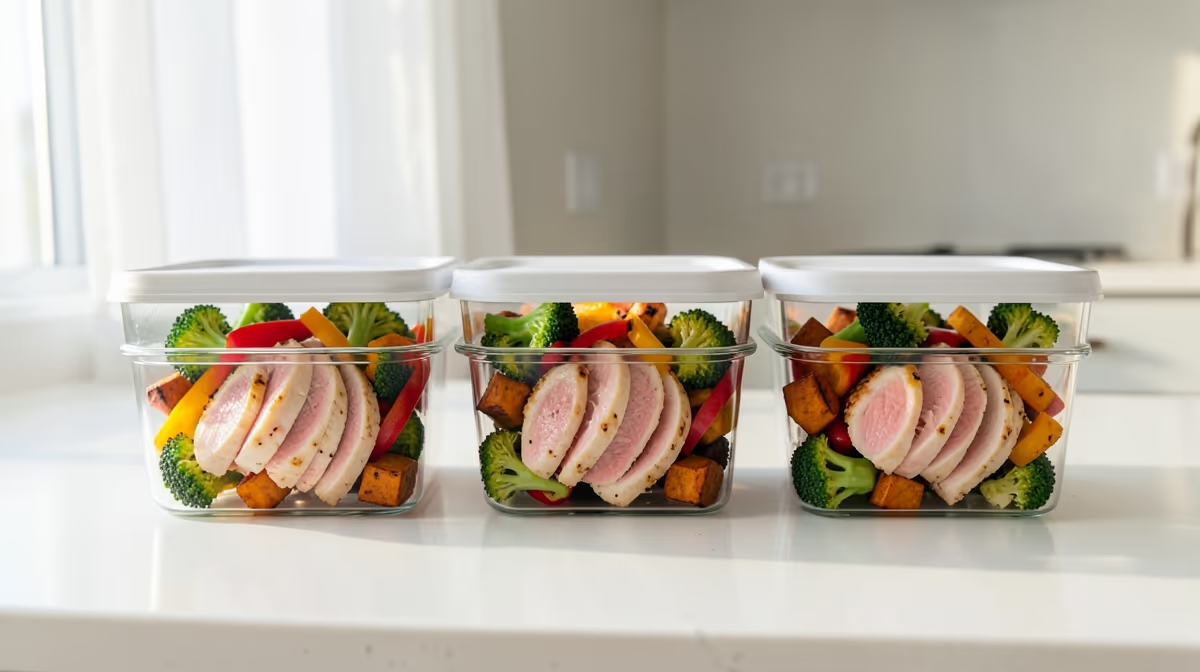
Dry, rubbery chicken is the fastest way to ruin your weekly meal prep. Learning how to meal prep chicken for the week without it drying out is a simple matter of understanding moisture retention, cooking temperatures, and proper reheating techniques. You do not need professional culinary training to master this; you just need to adjust a few basic habits in your kitchen. By changing how you prep, cook, and store your meat, you can enjoy tender, juicy chicken on Thursday that tastes just as fresh as it did on Monday.
The secret to juicy prep-ahead chicken lies in pulling it from the heat at exactly 165 degrees Fahrenheit and reheating it gently with a splash of added moisture.
Why Meal Prepped Chicken Gets Dry
Before you can fix dry chicken, you must understand why it happens. Chicken breast is incredibly lean, containing almost no intramuscular fat. When you apply heat, the tightly coiled protein fibers in the meat contract and squeeze out water. If you overcook the chicken even slightly during your initial prep, that moisture is lost permanently.
The problem compounds during storage and reheating. The cold air inside a refrigerator is highly dehydrating. If your storage containers are not completely airtight, the dry air pulls moisture directly out of the cooked meat. Finally, blasting the prepped chicken at maximum power in the microwave for a second time evaporates whatever internal water remains, leaving you with a rubbery, unappealing meal.
Choosing the Right Cut of Chicken
Your choice of chicken cut plays a major role in how forgiving the meat will be during the week. While chicken breasts are the most popular choice for healthy meal prep, they are also the most difficult to keep moist.
| Chicken Cut | Fat Content | Forgiveness Level | Best Cooking Method for Prep |
|---|---|---|---|
| Boneless, Skinless Breasts | Very Low | Low (dries out easily) | Poaching, Quick Pan-Searing |
| Boneless, Skinless Thighs | Moderate | High (stays juicy) | Roasting, Baking |
| Bone-In, Skin-On Breasts | Low | Medium | Roasting with skin on |
Chicken thighs contain more fat and connective tissue than breasts. This fat melts during the cooking process, lubricating the muscle fibers and keeping the meat tender even after several days in the refrigerator. If your nutritional goals allow for dark meat, switching to chicken thighs is the easiest way to prevent dry meal prep. If you prefer chicken breasts, you must use specific moisture-retaining prep techniques.
Essential Prep Techniques for Maximum Moisture
To ensure your chicken breasts stay juicy, you must prepare the meat before it ever touches a hot pan or oven. Use these three kitchen-tested techniques to prepare your chicken for the week.
Pound the Chicken to an Even Thickness
Use a Quick Wet or Dry Brine
Marinate with Yogurt or Acid
The Best Cooking Methods for Meal Prep
How you apply heat determines how much moisture stays inside the chicken. Avoid high-heat grilling for meal prep breasts, as this quickly strips away water. Instead, use these two gentle cooking methods.
Method 1: Gentle Poaching
- Place your prepared chicken breasts in a single layer at the bottom of a wide saucepan or pot.
- Cover the chicken with cold water, chicken broth, or a mix of both, ensuring the liquid sits at least one inch above the meat.
- Add aromatics to the liquid, such as smashed garlic cloves, peppercorns, fresh herbs, or a slice of lemon.
- Place the pot over medium-high heat until the liquid reaches a bare simmer. Do not let it boil.
- Immediately lower the heat to the lowest setting, cover the pot with a tight-fitting lid, and let it cook for 10 to 12 minutes.
- Use a meat thermometer to verify the thickest part of the chicken has reached 165 degrees Fahrenheit. Remove the chicken from the liquid immediately and let it cool.
Method 2: Oven Baking with a Parchment Envelope
- Preheat your oven to 400 degrees Fahrenheit.
- Rub your seasoned chicken breasts with a thin coat of olive oil or avocado oil.
- Place the chicken in a baking dish.
- Cut a sheet of parchment paper slightly larger than your baking dish. Press the parchment paper directly down onto the top of the chicken breasts, tucking the edges slightly under the meat. This acts as a secondary skin, trapping the escaping steam.
- Bake for 15 to 20 minutes, depending on the thickness of the meat.
- Remove from the oven as soon as the internal temperature reads 165 degrees Fahrenheit.
How to Store and Reheat Your Chicken
Your effort to keep chicken juicy during cooking will go to waste if you store and reheat it incorrectly. Follow these rules to protect your prepped meals.
Storage Rules
Store your chicken in high-quality, airtight glass containers rather than cheap plastic. Glass provides a superior seal against the dehydrating air of your refrigerator. Always let the chicken cool to room temperature before locking the lid; trapping hot steam inside a sealed container creates excess condensation, which can make the chicken soggy and encourage bacterial growth.
Reheating Rules
Reheat your meal-prepped chicken with a damp paper towel draped over the container to trap steam and keep the meat from drying out.
Before placing your container in the microwave, add one tablespoon of water, chicken broth, or a touch of olive oil directly to the chicken. Cover it with a damp paper towel or a microwave-safe lid set slightly ajar. Set your microwave to 50% or 60% power instead of 100%. Reheat in short, 30-second intervals, stirring or flipping the chicken until it is just warmed through. Gentle heat prevents the proteins from tightening up again and squeezing out the remaining moisture.
Common Mistakes to Avoid
Avoid these frequent errors to ensure your weekly meals remain delicious: - Skipping the rest period: Never cut into cooked chicken immediately. Let it rest on a cutting board for 5 to 10 minutes after cooking. This allows the hot juices to redistribute throughout the muscle fibers instead of spilling out onto your board. - Cooking by time instead of temperature: Oven strengths and chicken sizes vary wildly. Relying solely on a timer is a recipe for dry meat. Invest in a reliable digital thermometer. - Ignoring carryover cooking: Chicken continues to cook for a few minutes after you remove it from the heat source. If you leave it in a hot pan or baking dish after turning off the heat, the residual warmth will overcook it. Transfer the cooked chicken to a cool plate or cutting board immediately.
Frequently Asked Questions
How long does meal-prepped chicken safely keep in the fridge?
Cooked chicken remains safe to eat for three to four days when stored in an airtight container kept at 40 degrees Fahrenheit or lower. If you prep for a full seven days, freeze half of your portions immediately after cooling and thaw them in the fridge mid-week.
Can I freeze meal-prepped chicken without it becoming dry when thawed?
Yes, you can freeze cooked chicken successfully. Freeze the chicken in airtight freezer bags with all the air squeezed out, or use a vacuum sealer, which prevents freezer burn and moisture loss during storage.
Is it better to meal prep chicken breasts or chicken thighs?
Chicken thighs are much better for meal prep because their higher fat content prevents them from drying out during storage and reheating. However, you can use chicken breasts successfully if you pound them to an even thickness and brine them before cooking.
Conclusion
Successfully meal prepping chicken for the week without it drying out relies on smart kitchen habits rather than complex culinary skills. By pounding the meat flat, utilizing a simple brine, cooking to exactly 165 degrees Fahrenheit, and reheating gently at reduced microwave power with a splash of extra liquid, you can enjoy tender, delicious meals every day of the week. Master these simple steps to save time and elevate your weekly meal prep routine.

